From Wind Power to Electricity
...explore: How does wind generate electricity?
With a generator, you can transform a turning motion into electrical energy. In our miniature wind turbine, a simple electric motor is sufficient as a generator.

1

A pocket sized mini wind power plant
2
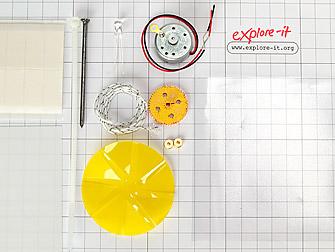
Material
Wind Turbine
A LED
Electric motor with attachment
2 magnets
1 piece of plastic sheeting
Double sided tape
A cable tie, thread, cog, nail
Adhesive tape, scissors
3
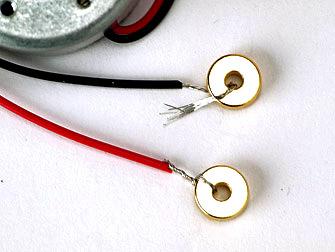
Shorten the two cables to 14 cm and take 2 cm of insulation off. Test the removal of the insulation first on some cable left overs.
Twist the end of the cables so there are no wires coming out.
Insert the stripped part of the cable threw the magnet's hole.
Twist the end of the striped cable with the beginning of the striped cable (like the red cable). The cables are now attached to the magnets.
4
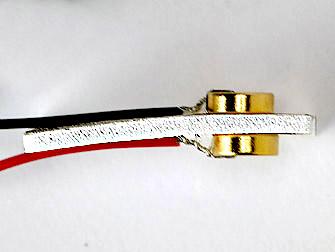
Take a piece of double sided tape and fix a magnet on each side.This way the cables don't touch each other and are insulated from each other.
You will later be able to fix the LED to these magnets.
5
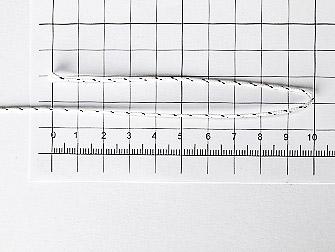
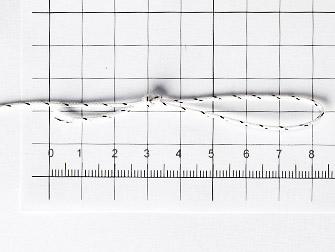
Make a loop with the last 10 cm of the thread and tie a knot.
6
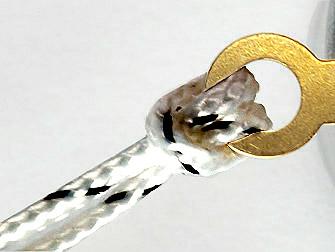
Verify if the knot holds well the loop!
7
Fix the thread on the motor's golden loop.
Verify if the thread holds, by pulling strongly on it.
8
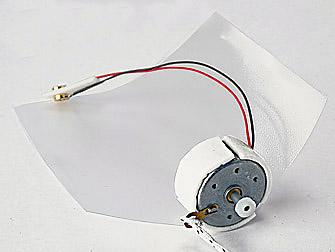
Stick three double sided tapes, at equal distance, around the generator.
Place the generator at the edge of the plastic sheet. The cables are on the sheet.
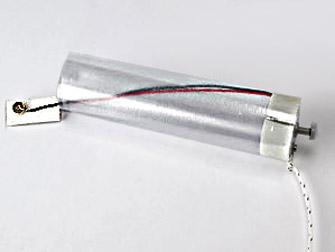
Surround delicately the generator with the plastic sheet.
9
Fix the loose sheet edge with adhesive tape.
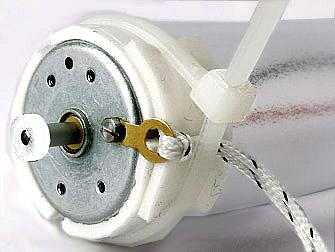
10
Place another piece of double sided tape under the loop.
Put the cable tie around the generator and press the thread against the tape.
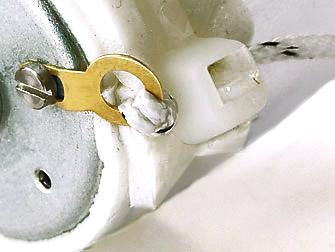
11
Pull on the cable tie as much as possible. The thread mustn't move anymore.
Cut the left-over cable tie.
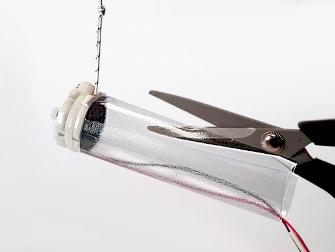
12
Hold your wind turbine by the thread.
Cut above to the middle.
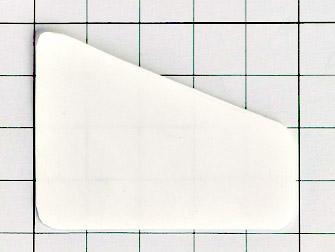
13
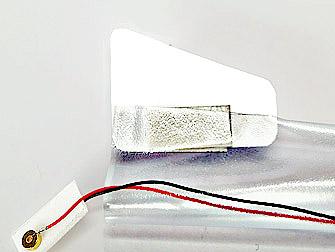
Cut into a left-over plastic white sheet (wind turbine PET) a 4 x 5 cm piece. Cut it at an angle.
With scissors, round off the sharp corners.
14
Fix on both sides of the white plastic piece, a piece of double sided tape.
Insert the white plastic piece in the plastic tube's slit and press the sheet against the double sided tape. This way, the plastic tube is slightly flattened.
15
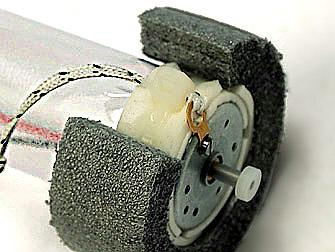
Glue two double sided tapes on the cable tie.
Place onto it the dark foam ring. Place it so 2mm overlaps the generator's edge.
The foam ring in a shock absorber is case the generator hits something.
16
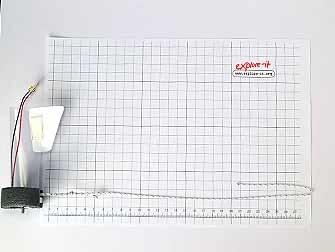
Cut 40 cm of thread.

17
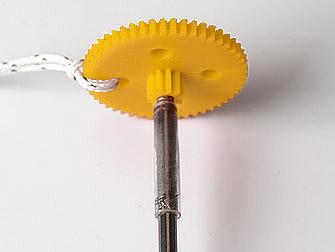
Make a loop with the last 10 cm of the thread and tie a knot.
Verify that the knot holds properly.
18
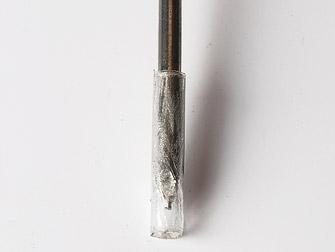
Fix the thread on to a cog's hole, like was done with the motor's loop.
Insert a nail threw the cog and check if it can still turn.
Wrap 5 cm of adhesive tape tightly just under the cog. Like so, the cog can turn well without sliding down.
19
Wrap 5 cm of adhesive tape around the nail's tip. So as, not to hurt yourself with it.
20
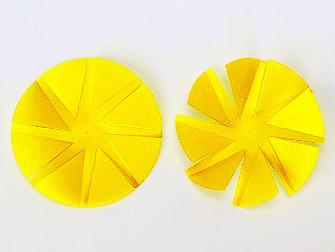
Lay the wind turbine on the table, matt side up.
Fold the blades slightly up wise along the lines. (right side of image)
21
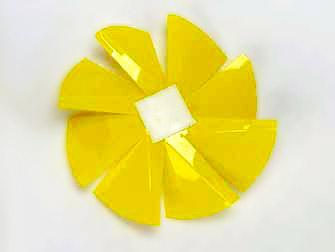
Stick a double sided tape underneath the wind turbine.
22
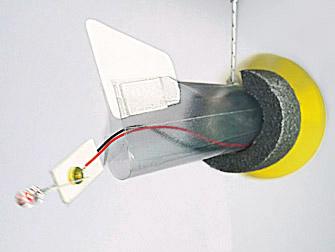
Attach an LED to the two magnets.
Stick the exact middle of the wind turbine on the generator's tip.
Blow facing the rotor and check if the LED lights up.
If not so, you must connect differently the LED terminals: it depends which terminal is in contact with which cable.
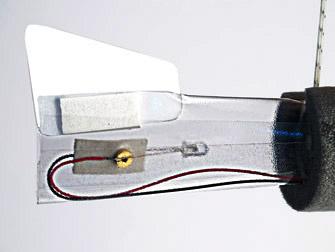
23
When you have lit the LED, place it in the plastic tube.
You can later pull the cable out and try another LED out.
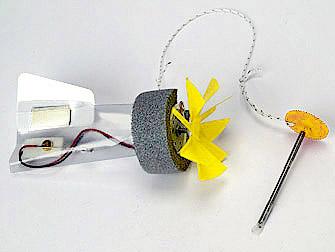
24
Take the nail in your hand and spin your wind turbine in the air!
Careful to not hit anyone!

25

The lighter your LED is, the more it produces electricity!
Find out how to produce more electricity with your wind turbine. E.g. change the position of the wing and adjust the speed of the spins.
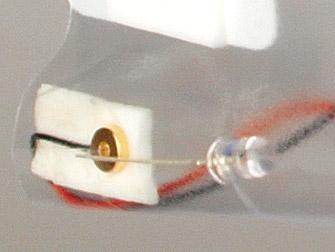
26

Try the different LEDS out
From the outside you can barely see a difference between LEDS. What happens when you connect them to your electrical wind turbine? Test!
| Views | |
|---|---|
| 30 | Total Views |
| 30 | Members Views |
| 0 | Public Views |
Share by mail
Please login to share this webpage by email.